This is Part One of our Complete Guide to Sourdough Bread Making! If you already have a healthy sourdough starter, feel free to jump on to Part Two (dough development) or Part Three (refining your sourdough skills)!
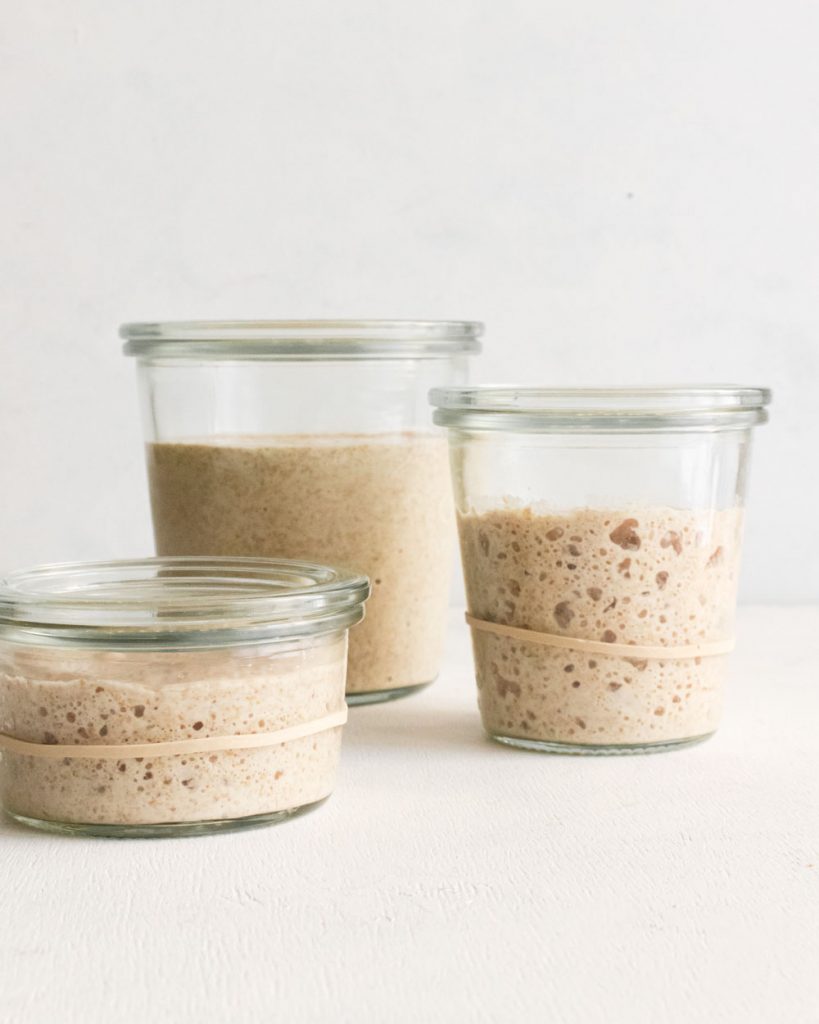
If you’re anything like me, you’ve probably thought, “sourdough? I don’t have time for that.” But give me just a few minutes to change your mind! Sourdough is not only easy, it’s also versatile, forgiving, and a great way to get started in breadmaking! So, if you’re not convinced yet, keep reading!
Myths About Sourdough
Myth: “You can’t make a sourdough starter if you don’t already have one.”
Truth: Actually, you can! I created my sourdough starter from scratch using a mix of commercial and wild yeast– and I walk you through it step by step below!
Myth: “Sourdough starters are hard to keep alive.”
Truth: Yeast is a living thing so it must be fed. However, it doesn’t have to be fed every day. You can keep your starter in the fridge and feed it only once a week. Not to mention, feeding your starter only takes a minute.
Myth: “I’ll have to bake bread every day.”
Truth: Again, you can keep your starter in the fridge and only pull it out when you need it! I keep my starter on the kitchen counter and feed it once a day but I only bake with it once to twice a week.
How to Make a Sourdough Starter (in pictures)
Step one: Combine flour, water, and yeast
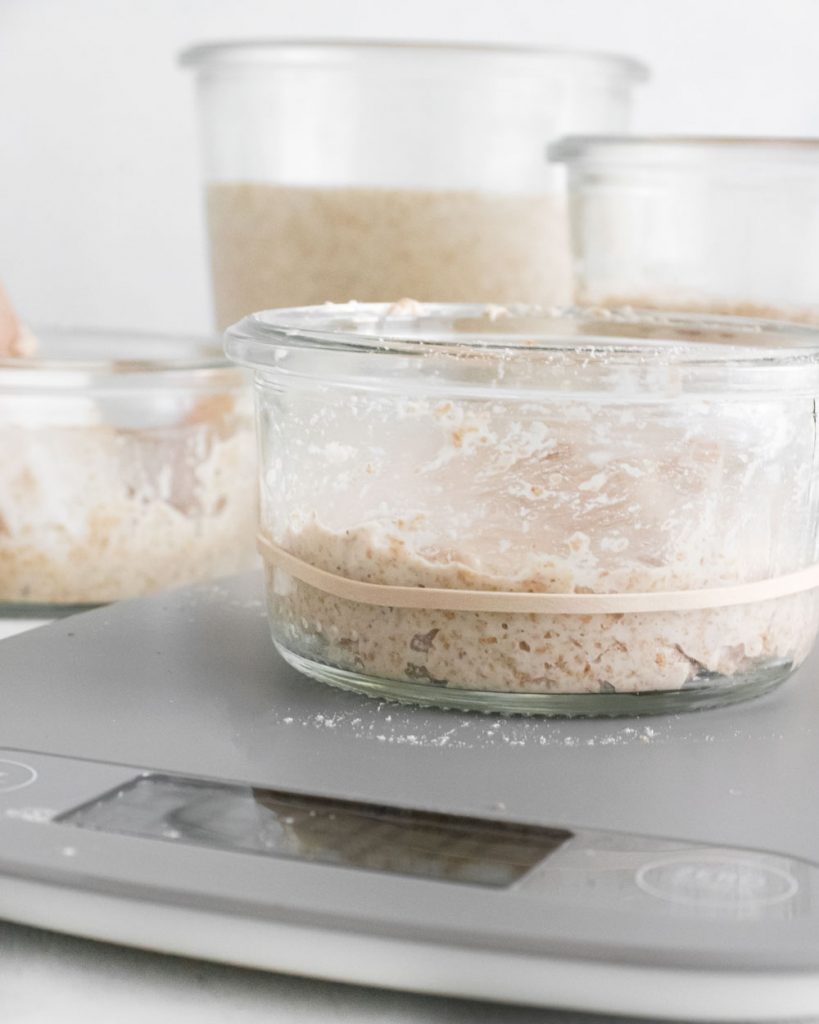
step two: feed your starter
first, add the starter.
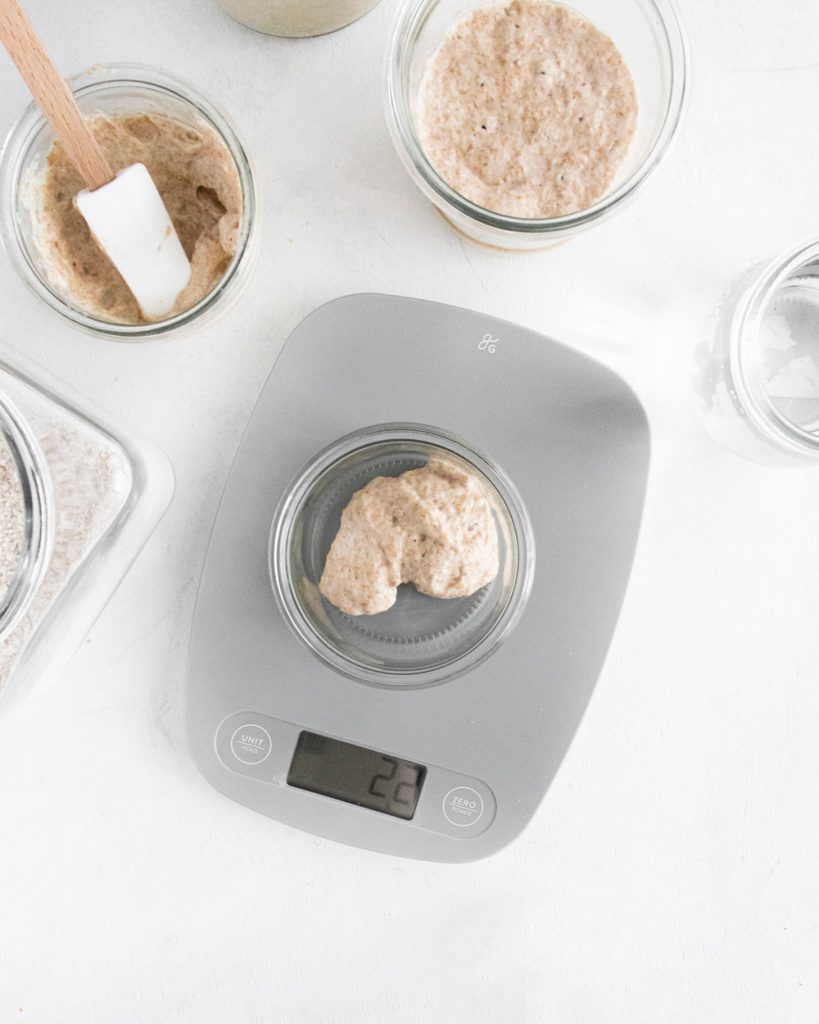
Next, add flour.
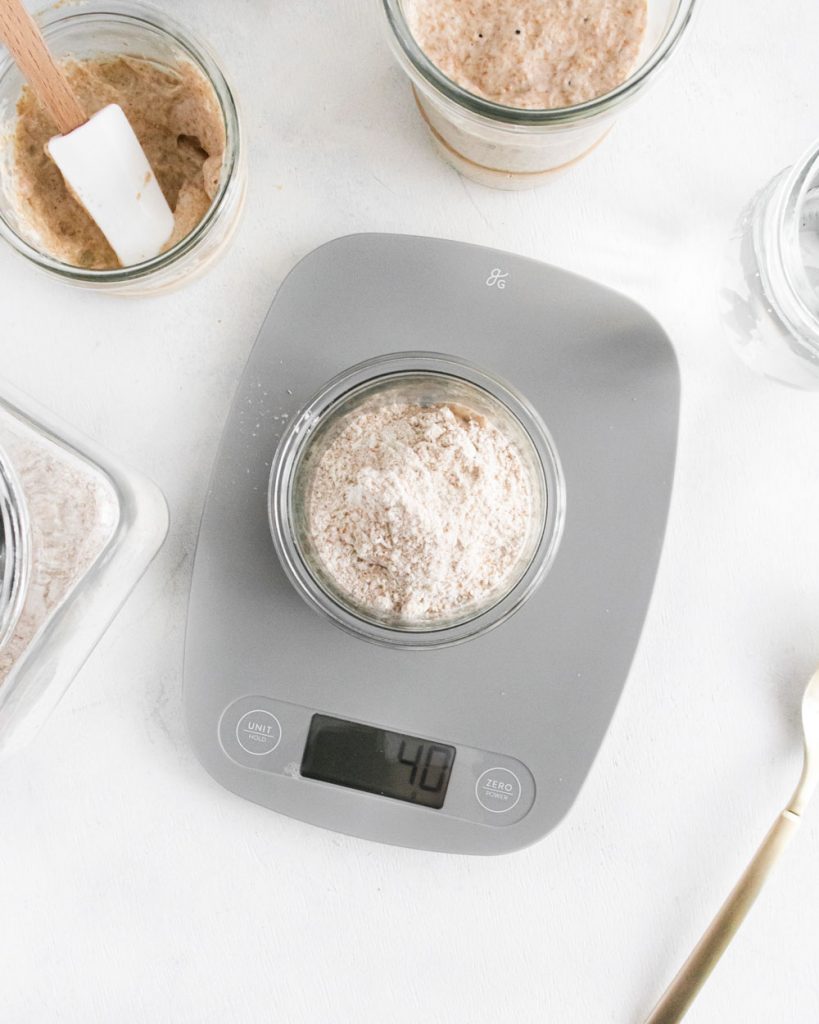
lastly, add water and stir.
The Process: How to Make a Sourdough Starter Using Commercial Yeast
What you’ll need
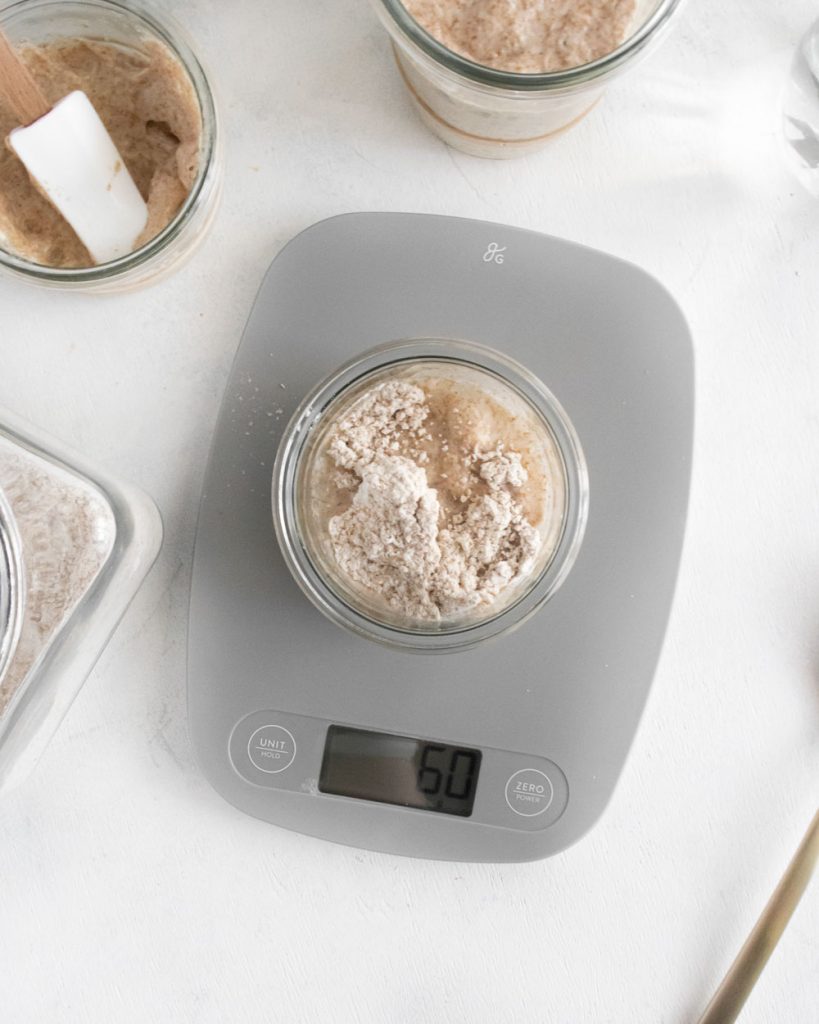
Two glass jars with lids, a kitchen scale, whole wheat flour, water, and active-dry yeast.
Initial creation — Day 1 (8:00am)
Combine 20 grams of warm (not hot!) water with 20 grams of whole wheat flour and one pinch of yeast. Stir it until the flour is fully incorporated.
Feeding #1: Day one — 8:00 pm
Feed your sourdough by removing 20 g of starter and placing it into a clean glass jar. Add 20 grams warm water and 20 grams whole wheat flour. Stir it until the flour is fully incorporated.
Feeding #2: Day Two — 8:00am
Feed your sourdough by removing 20 g of starter and placing it into a clean glass jar. Add 20 grams warm water and 20 grams whole wheat flour. Stir it until the flour is fully incorporated.
feeding #3: Day Two — 8:00pm
Feed your sourdough by removing 20 g of starter and placing it into a clean glass jar. Add 20 grams warm water and 20 grams whole wheat flour. Stir it until the flour is fully incorporated.
Feeding #4: Day Three — 8:00Am
Feed your sourdough by removing 20 g of starter and placing it into a clean glass jar. Add 20 grams warm water and 20 grams whole wheat flour. Stir it until the flour is fully incorporated.
By Day 3, your sourdough starter should be mature enough to bake with. If your sourdough starter doubles in size within 5-6 hours of being fed, it’s ready! If not, give it one more day of feeding and then test it again. At this point, your starter will be mostly made of commercial yeast. However, as you let it sit on the counter, the wild yeast will continue to develop and the flavor of your sourdough will strengthen.
How to Maintain Your Sourdough Starter
If you plan to bake at least once per week
Keep your sourdough starter in a glass jar on the countertop with the lid ajar (not fully sealed). Feed it once per day by combining 20 grams starter with 20 grams of water and 20 grams of whole wheat flour. Keep in mind that these measurements are completely up to you– just make sure the ratio of starter:water:flour is always 1:1:1.
If you plan to bake less than once per week
Keep your sourdough starter in a glass jar in the refrigerator with the lid ajar (not fully sealed). Feed it once per week by combining 20 grams of starter with 20 grams of water and 20 grams of whole wheat flour. Whisk until no lumps remain. The day before you plan to bake, remove the starter from the fridge and feed it again. Let is sit on the counter overnight and then feed it again five to six hours before baking. Once you’re finished baking, return it to the fridge and feed it again in one week.
Frequently Asked Questions
Q: Why is this considered a “shortcut” method to sourdough?
A: Typically “true” sourdough starters are made from only flour and water– and after 7-10 days, naturally occurring yeasts from the air will have entered the mixture and began to grow. This “shortcut” method uses commercial yeast to jumpstart that process. I recommend the shortcut method for home bakers because most home bakers (including myself) do not want to wait 7-10 days for their sourdough starter to mature and then an additional 12-18 hours of rise time per loaf. Besides, as your sourdough starter sits on the counter, it will naturally gain wild yeasts as well… it is simply started with commercial.
Q: Should I use tap or distilled water?
A: If you consider your tap water safe enough to drink, it is safe enough for your sourdough starter. If you don’t drink from your tap, I would use filtered or bottled water.
Q: Why do I need to use whole wheat flour?
A: Naturally occurring yeasts are more likely to be found in whole wheat flour than in all purpose flour using whole wheat jump starts the yeast-growing process.
Q: How do I know when my sourdough starter is ready to use
A: Your starter should double in size within five to six hours of feeding. If it does, it’s ready to bake!
Q: How do I know if my sourdough starter has gone bad?
A: If your starter has any signs of mold (anything green, grey, or fuzzy) or if it smells rotten, throw it out and start over.
Q: What is the brown liquid on top of my starter?
A: That’s called hooch– it’s an alcohol naturally produced by the yeast. While it is harmless to the yeast in small quantities, too much alcohol can lower the pH of the solution and kill the yeast cells. When I see hooch on my sourdough starter, I simply pour it off the top and feed my starter.
Q: What can you do with sourdough starter?
A: Absolutely anything! I put sourdough discard into as many recipes as I can! Check out my Sourdough Bagels, Sourdough Doughnuts, and Sourdough Pretzels— just to name a few!
a new bread making enthusiast, found yr page and amazed – the page is so nicely presented, information are wonderfully conveyed. thank you very much