This is Part Two of my Sourdough Bread Making Guide. This post will cover basic dough creation and development. If you do not have a sourdough starter yet, check out Part One. If you’re looking to refine your sourdough skills, check out the Part Three: The Guide for Advanced Bakers.
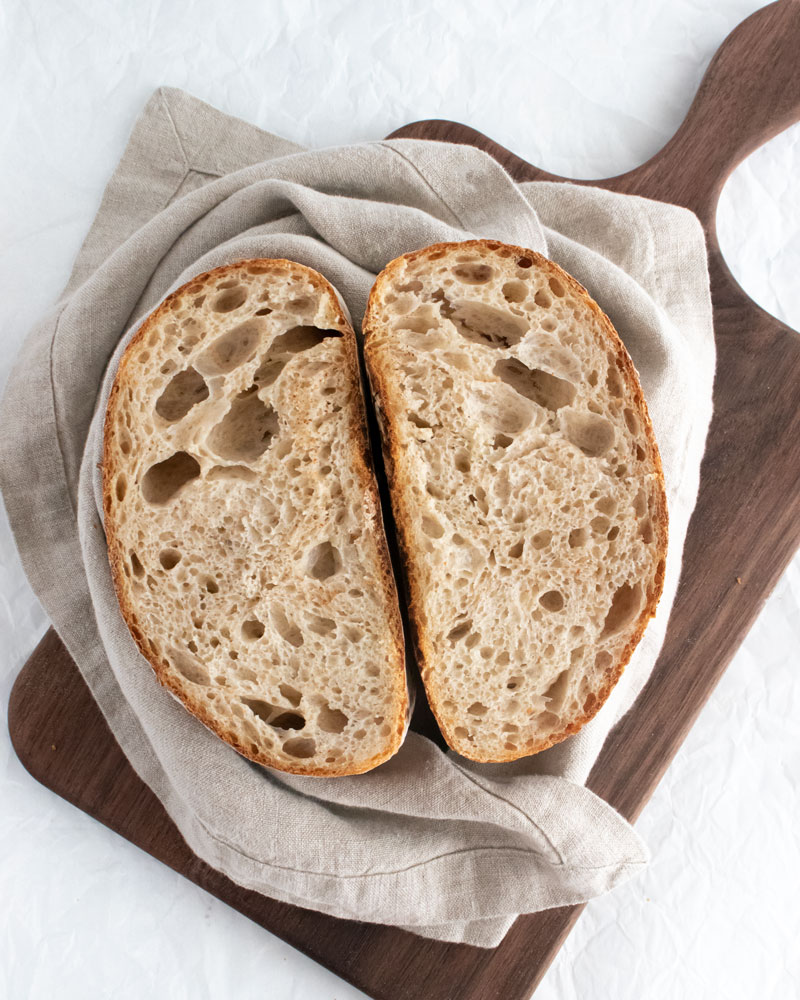
I LOVE making sourdough bread– but it took a long time (and a lot of practice) to fully understand how to make a great loaf of sourdough. Luckily for you, I’ve compiled all of my best tips and tricks into a complete sourdough bread making guide. Let’s get baking!
How to Make Sourdough Bread
Step one: Start with a lively starter
If you don’t have a starter yet, you can make one yourself! Check out how to here.
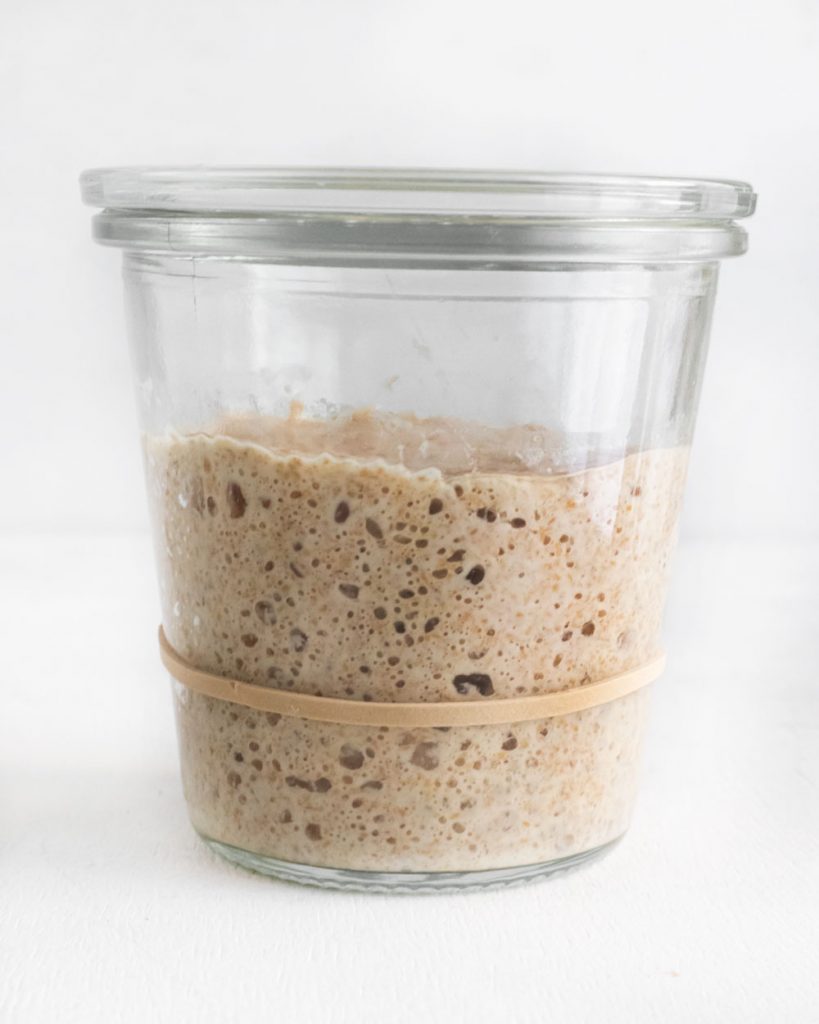
In order to create a great loaf of sourdough, you need to start with a lively sourdough starter– this means one that reliably doubles within 5-6 hours after feeding. Additionally, you should see large bubbles throughout the starter and it should smell like sourdough already– not like vinegar.
Why Is This Important? Sourdough starters rise when yeast releases carbon dioxide creating air bubbles (like the ones seen in the picture). One way to measure the health/size of the colony is by measuring the growth of the starter. If your starter has not doubled, it means the yeast colony has not grown enough and will not be able to support a loaf of bread.
step two: Combine the water and flour (aka: autolyse)
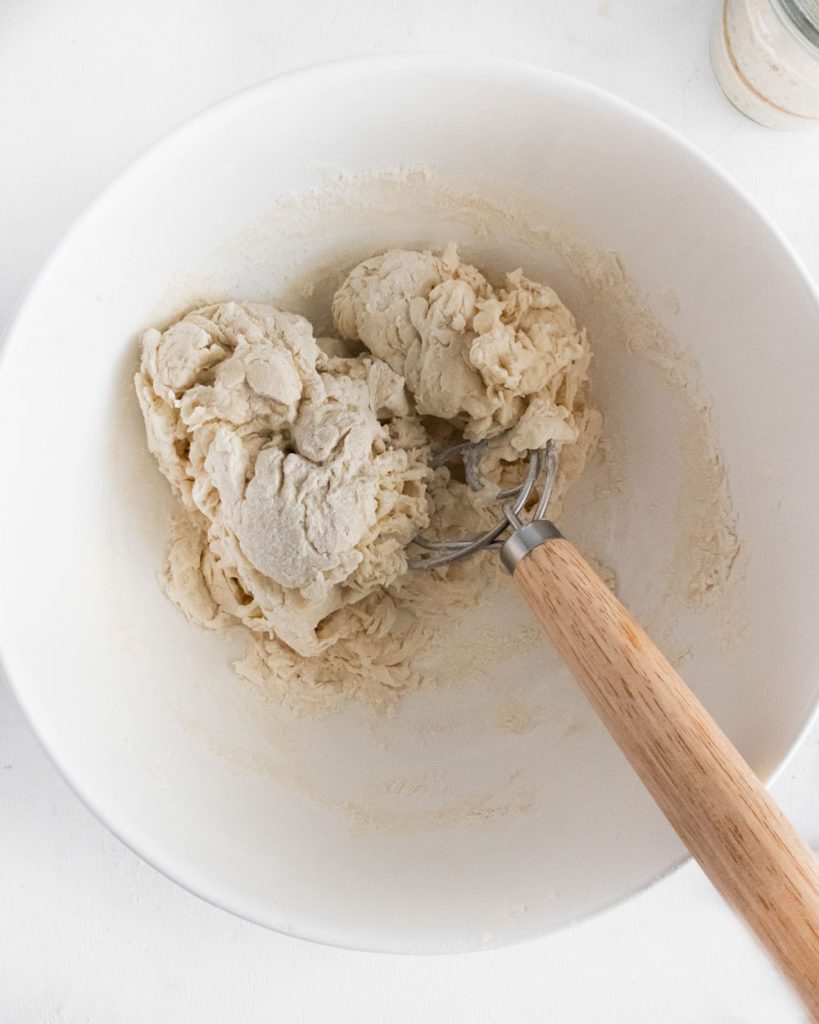
The next step to making sourdough bread is to combine the flour and water– just until no large lumps of flour remain– and then let it rest. This is known as the autolyse (pronounced “auto-lease”).
Why is this important? The autolyse helps the flour absorb the water which results in a dough that is easier to work with and has a better texture. Doughs that aren’t autolysed are typically more dense.
Step three: Add the starter & Yeast
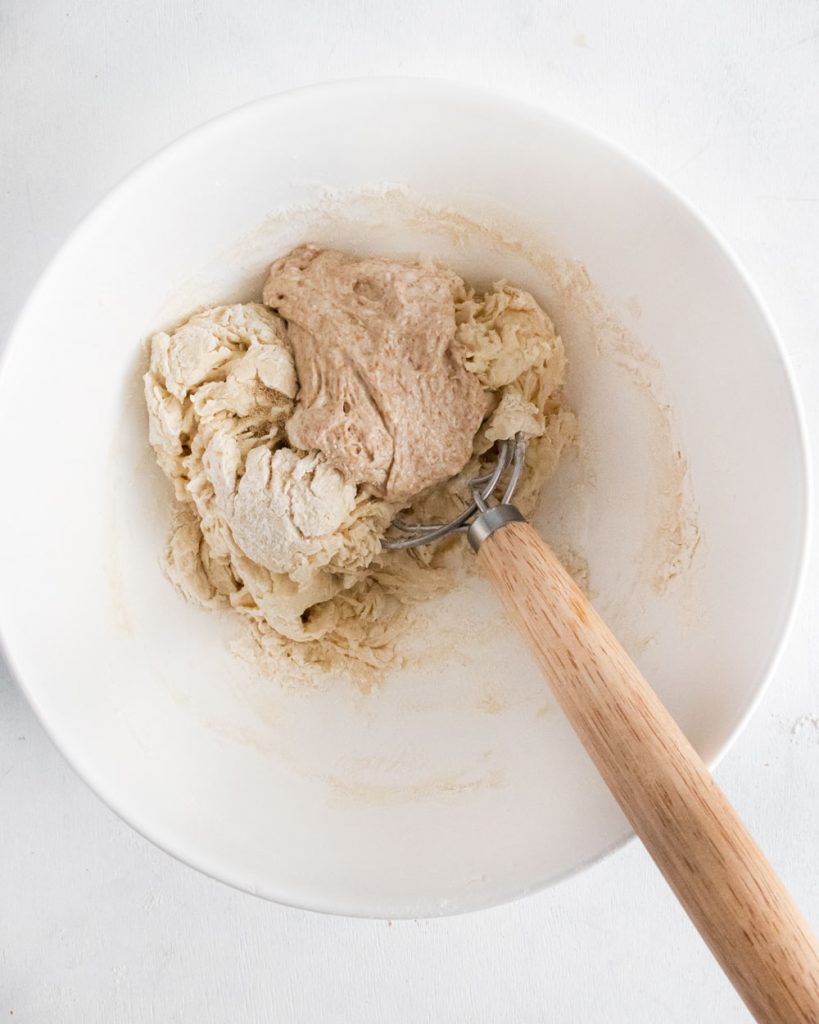
After the flour and water have had a chance to rest, it’s time to add the sourdough starter and commercial yeast. The easiest way to incorporate the starter into the dough is with a wet hand. Run your hand under water and then pull the sides of the dough around the sourdough starter to enclose it. Continue incorporating until no more lumps of starter remain. Be gentle and try not to tear the dough!
Why do we use both starter and commercial yeast? Adding a pinch of commercial yeast to your bread ensures that the bread will be light and airy with a soft crumb. Think of it as an insurance policy– just in case your starter isn’t at 100%. And of course, the starter is used primarily for flavor but also to rise and strengthen the dough.
Step four: Add the Salt
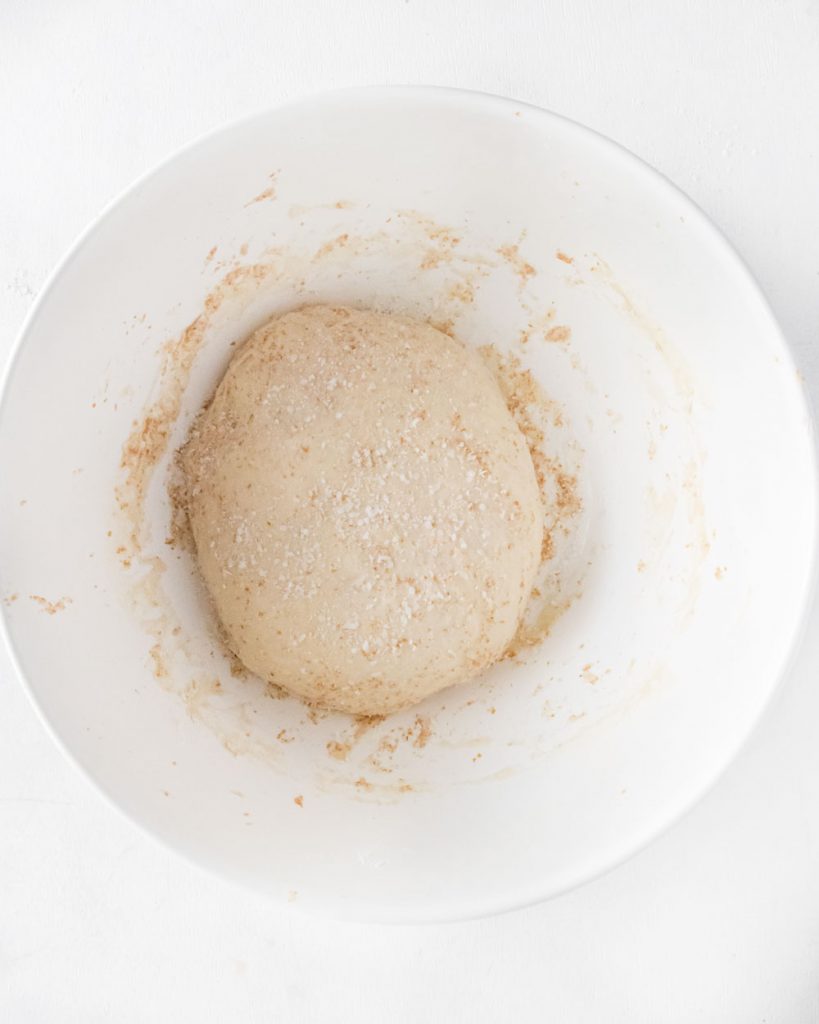
Sprinkle the salt over the dough.
Why do we add the salt last? Salt inhibits yeast activity and we want the yeast to be as active as possible. So, we add the salt after the yeast has had a chance to start growing.
Step five: Stretch-and-Folds
The Stretch
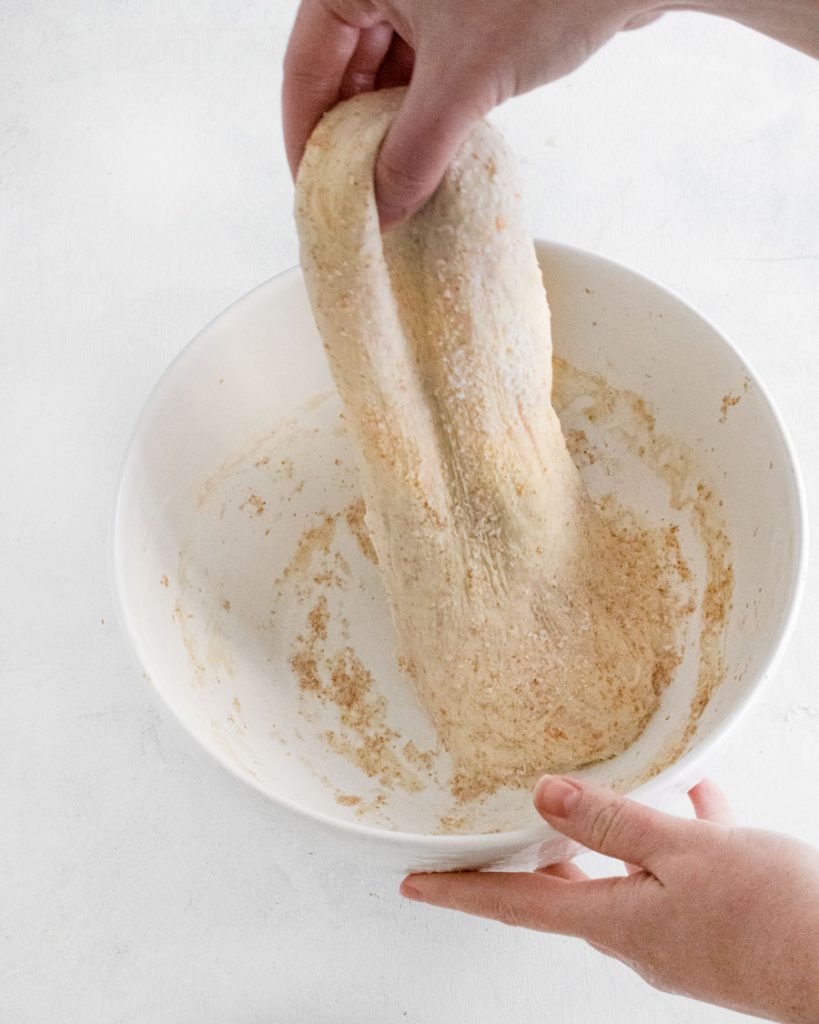
the fold
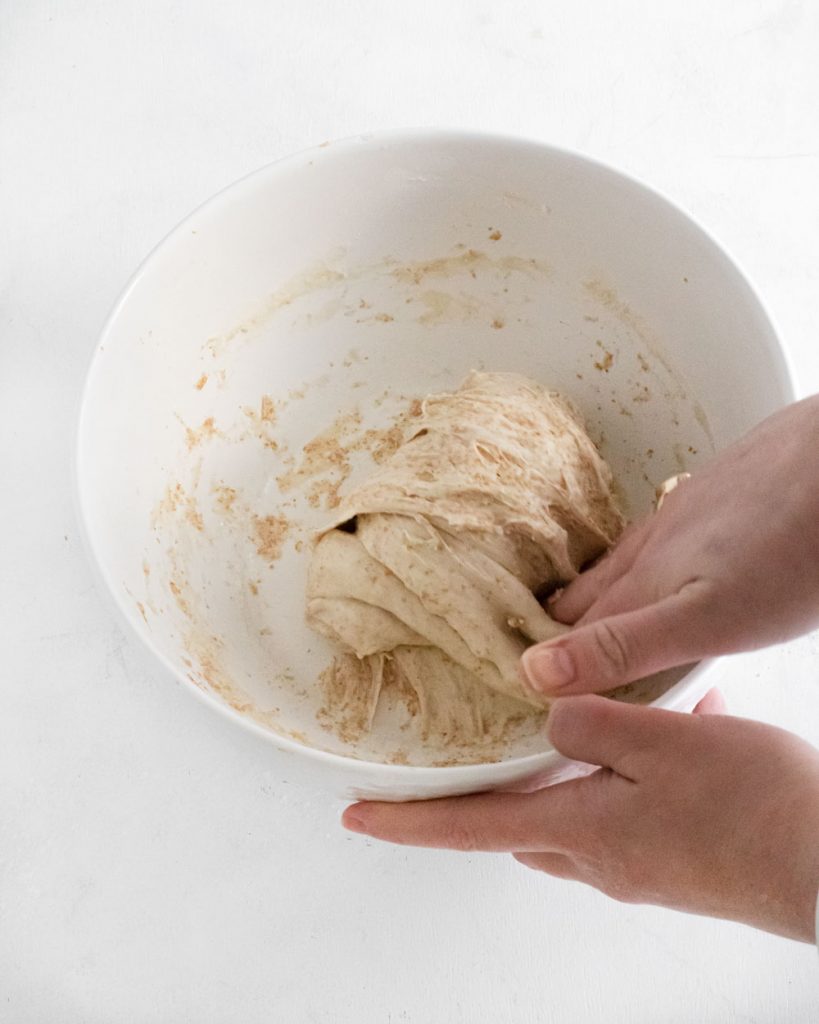
To incorporate the salt and strengthen the dough, we’ll mix using the Stretch-and-Fold technique. Pull up one corner of the dough, just until you feel resistance, then fold it over the opposite side. Repeat with each corner of the dough until you have a smooth, tight ball. I usually try for 6-8 stretch-and-folds per cycle (so, in other words, I stretch-and-fold each corner of the dough 1-2 times). You’ll continue the stretch-and-fold process at intervals over a few hours but keep in mind, you want the dough to have fully relaxed since its last stretch-and-fold before performing another one.
Why is this important? Sourdough breads aren’t kneaded like most other yeast breads. So to develop the gluten, we need to strengthen the dough another way– in this case through stretch-and-folds. Dough without a strong enough gluten structure won’t rise or hold its shape properly.
Step six: Bench rest and Shape
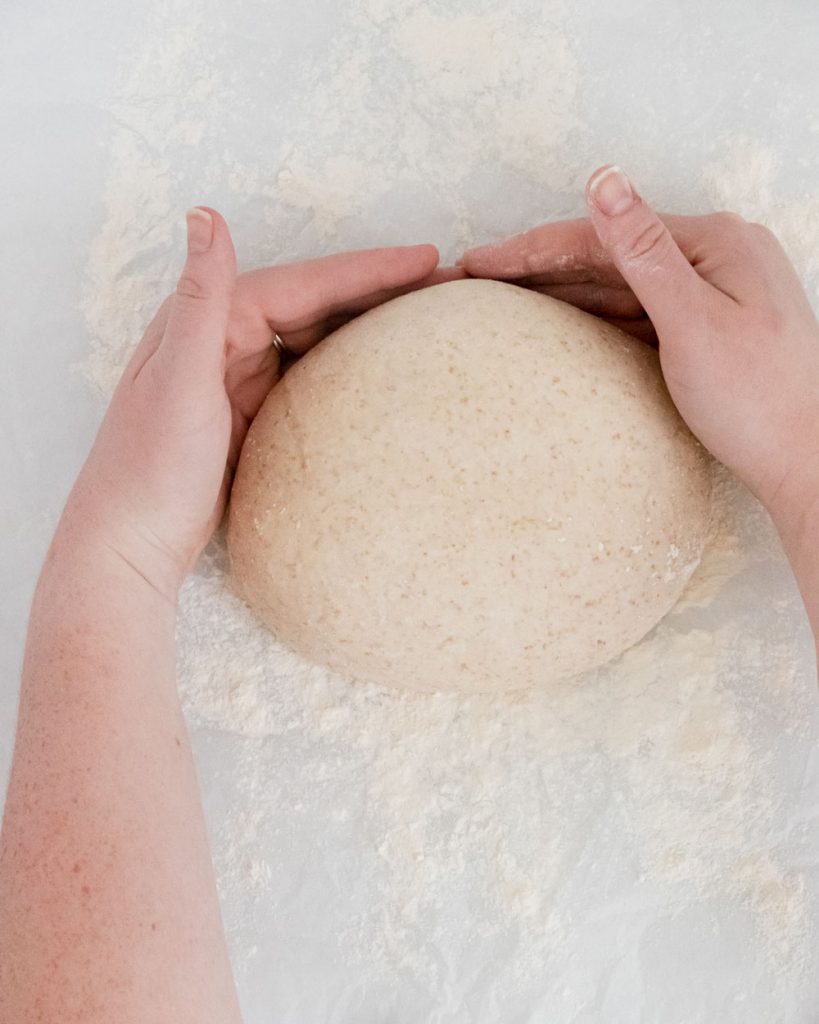
Once you’ve completed the stretch-and-folds process and the dough has risen considerably, its time for a bench rest and shape. Turn the dough out onto a floured surface and gently shape it into a ball by pulling the bread towards you. Turn the bread 90 degrees and repeat the pulling process until you have a tight, smooth surface. For a video example, check out this one (from 1:14-1:50).
Why is this important? We want the dough to have a smooth, tight crust on top to ensure that it rises and bakes evenly. Additionally, when we score the dough, if it doesn’t have a tight top crust it will open up too much.
Step seven: Rest overnight in a banneton
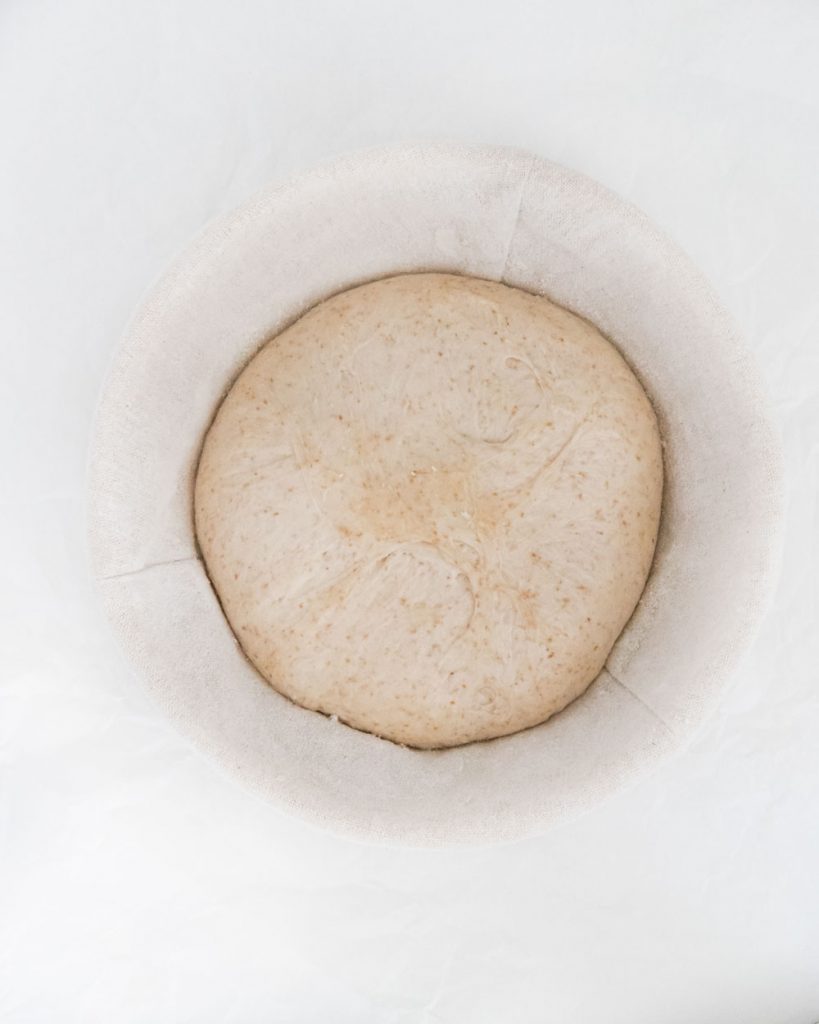
Lightly sprinkle your banneton with white rice flour and place it top-down. Make sure the bottom seam isn’t coming apart– feel free to pinch it together if it seems like it may bust open. Next, cover the banneton with a clean dish towel and place it in the fridge to rest overnight.
Why is this important? White rice flour is gluten free so it will help prevent the bread from sticking to the banneton. I almost ruined my first banneton using all purpose flour with a high hydration dough! Also, the overnight cold fermentation allows for better flavor development and prevents the bread from becoming over-proofed.
Step seven: wet & flour the dough
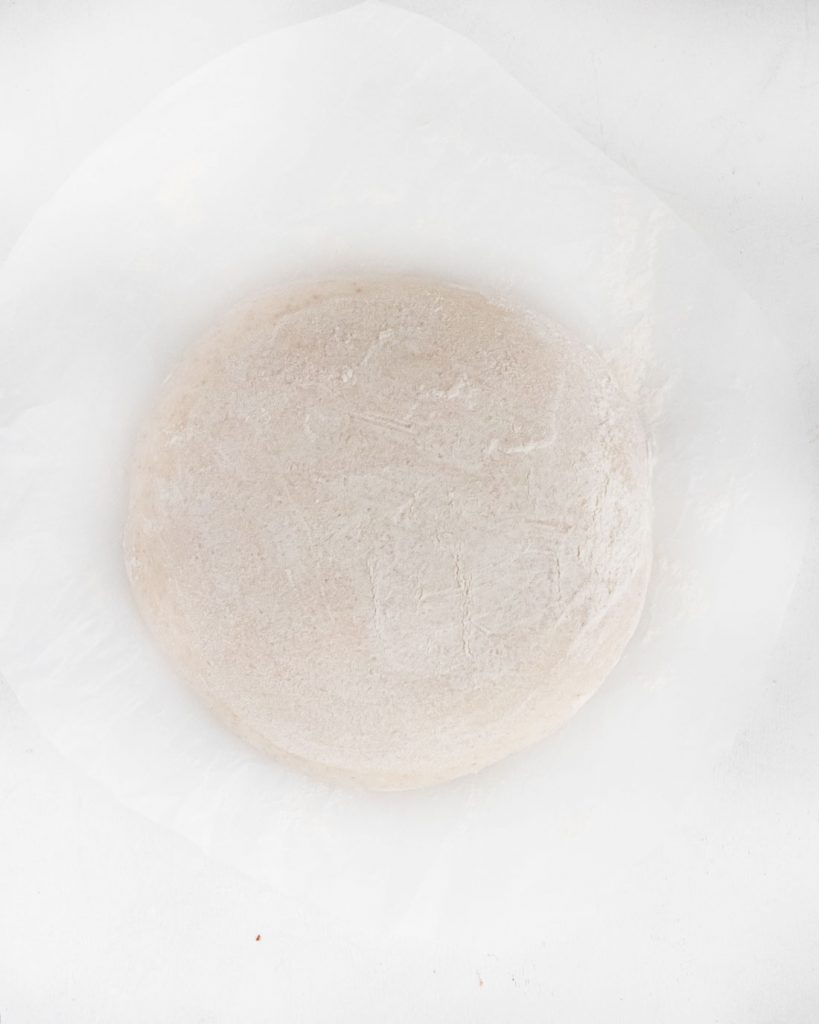
When you’re ready to bake the bread, start by preheating your oven. When your oven is hot, pull the bread from the fridge and turn it out into a parchment circle. Using a pastry brush, brush the top of the dough with water and then lightly sift a layer of all purpose flour on top. Using your hands, smooth the flour until you have an even layer.
Step eight: score
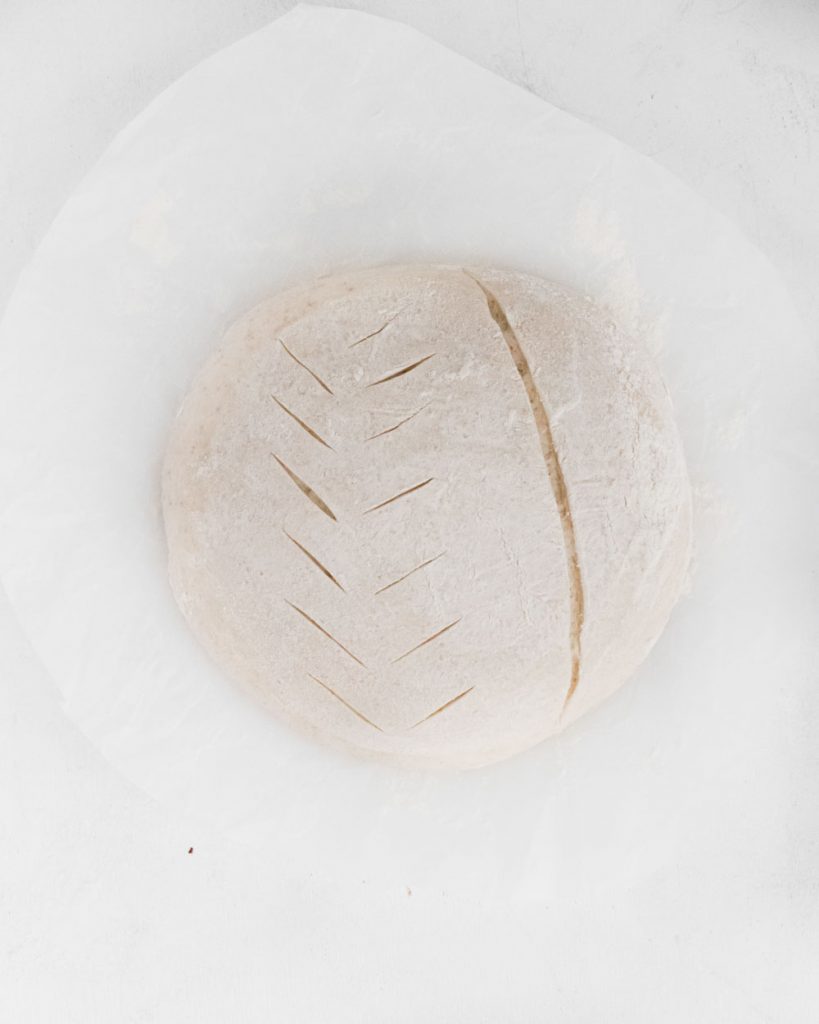
Using a sharp flat blade knife, or a bread lame if you have one, score the bread any way you like. Feel free to be creative with it. We’ll cover scoring techniques in Part Three of the sourdough collection so if you want more information, check it out here.
Why is this important? Scoring allows the bread to release steam so you get a nice oven spring (aka: rise) and a pretty design on top.
step nine: bake
Before the bake
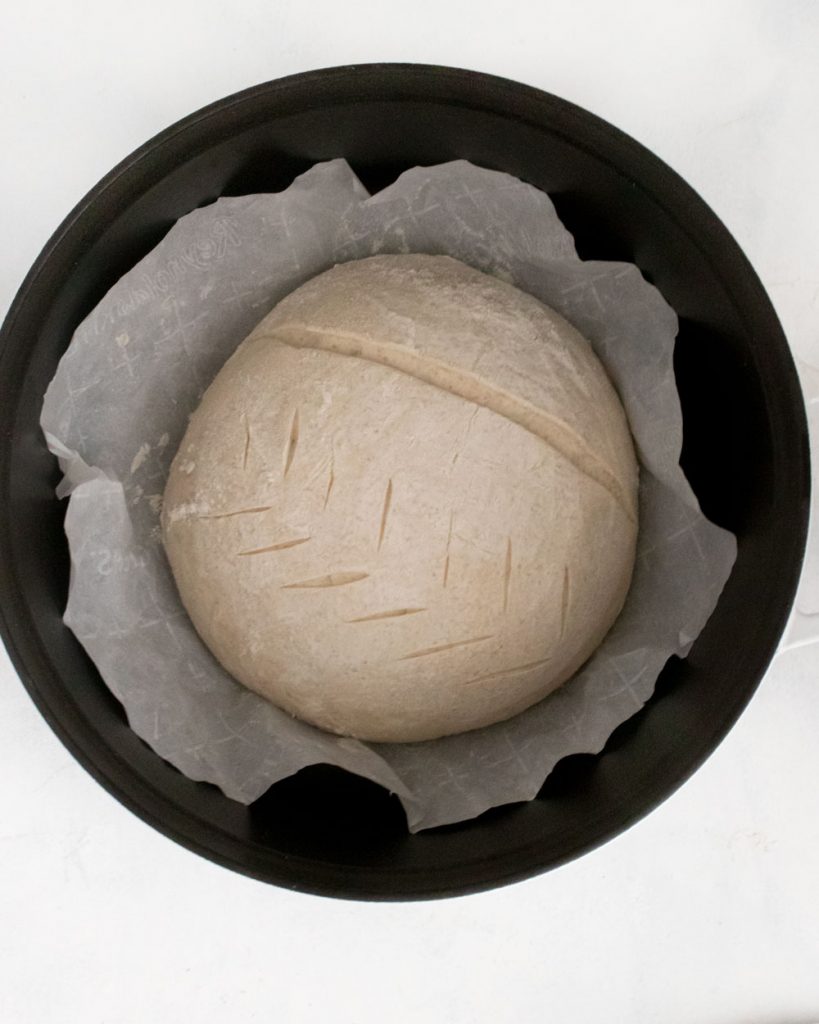
Half way through — remove the lid
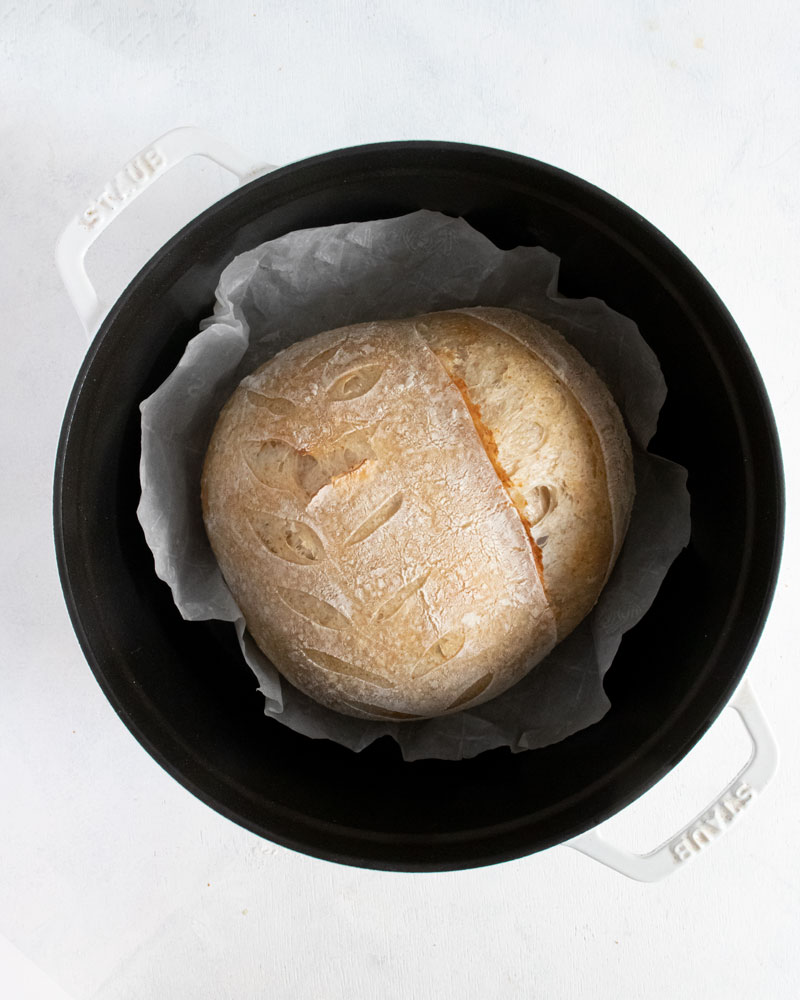
The finished product
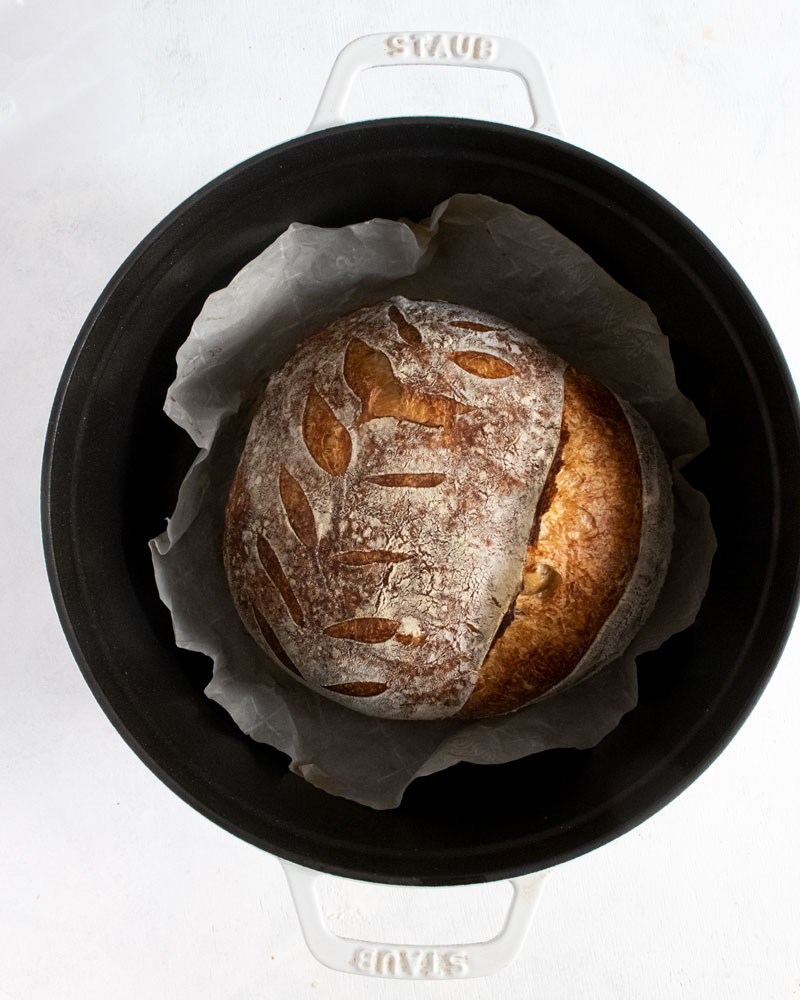
Place the dutch oven in the oven and preheat it to 450 degrees. You’ll cook the loaf in the preheated dutch oven to simulate a commercial bakery’s steam oven. Cook the bread with the lid on for the first have of baking, then remove it and continue baking until your desired darkness.
Step ten: cool COMPLETELY and enjoy
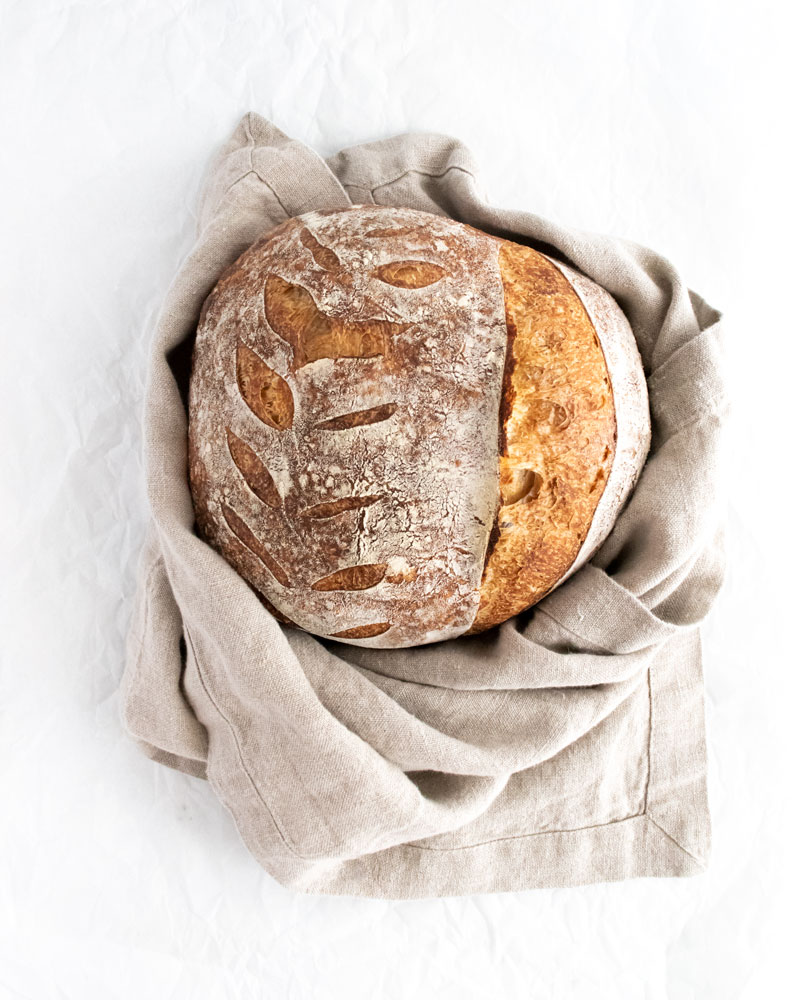
Remove the bread from the dutch oven and place it on a wire rack to cool completely. If you cut into the bread while it is still warm it will be dense and gummy– it needs to continue cooking while it rests. I recommend waiting no less than two hours after baking to cut into fresh bread.
Other Sourdough Recipes You’ll Love
The Recipe
Rustic Sourdough Boule
Ingredients
- 300 grams bread flour
- 200 grams water
- 75 grams fed sourdough starter
- 1 pinch active-dry yeast (less than 1 g)
- 5 grams kosher salt
Instructions
- Combine the water and flour in a large bowl until no lumps remain. Set aside to autolyse for 30 minutes.
- After 30 minutes, add the sourdough starter and yeast. The easiest way to incorporate the starter into the dough is with a wet hand. Run your hand under water and then pull the sides of the dough around the sourdough starter to enclose it. Continue incorporating until no more lumps of starter remain. Be gentle and try not to tear the dough! Set the dough aside to rest for 15 minutes.
- Once the dough has rested again, sprinkle over the salt and incorporate it using the stretch-and-fold technique. Pull up one corner of the dough, just until you feel resistance, then fold it over the opposite side. Repeat with each corner of the dough until you have a smooth, tight ball. I usually try for 6-8 stretch-and-folds per cycle (so, in other words, I stretch-and-fold each corner of the dough 1-2 times).
- After each stretch-and-fold turn the dough seam side down and let it rest for 30 minutes. Perform 4 more stretch-and-folds, all 30 minutes apart.
- After you've completed five total stretch-and-folds, turn the dough out onto a floured surface and shape it into ball by pulling the dough towards you. See above for photos!
- Lightly sprinkle your banneton with white rice flour and place the bread in top-down. Make sure the bottom seam isn’t coming apart– feel free to pinch it together if it seems like it may bust open. Next, cover the banneton with a clean dish towel and place it in the fridge to rest overnight.
- When you're ready to bake, preheat your oven to 450°F. Place a dutch oven into the oven while preheating.
- Once the oven has come to temperature, remove the dough from the fridge and turn it out onto a parchment circle. Using a pastry brush, brush the top of the dough with water and then lightly sift a layer of all purpose flour on top. Using your hands, smooth the flour until you have an even layer.
- Next, using a sharp flat blade knife, or a bread lame if you have one, score the bread any way you like. Feel free to be creative with it.
- Carely lower the parchment round into the dutch oven. Place the lid on and bake for 30 minutes.
- Remove the lid and bake for an additional 20 minutes, or until the top is dark brown.
- Remove the bread from the dutch oven and transfer it to a wire rack. Let it cool completely before slicing.
Notes
Nutrition


Leave a Reply