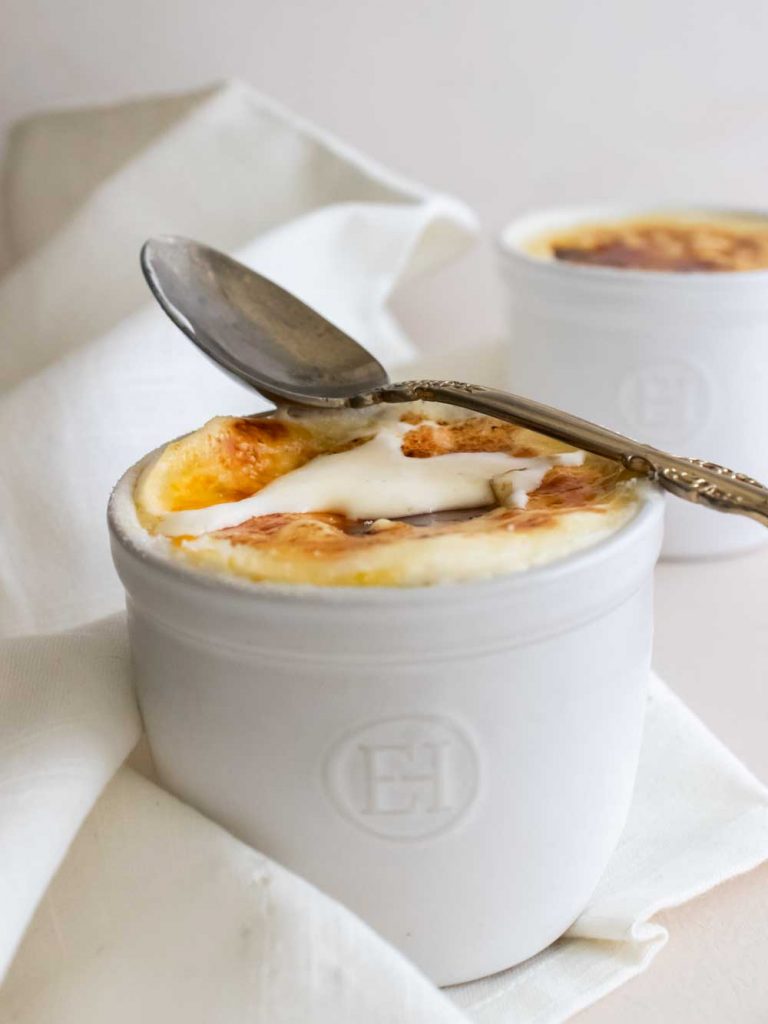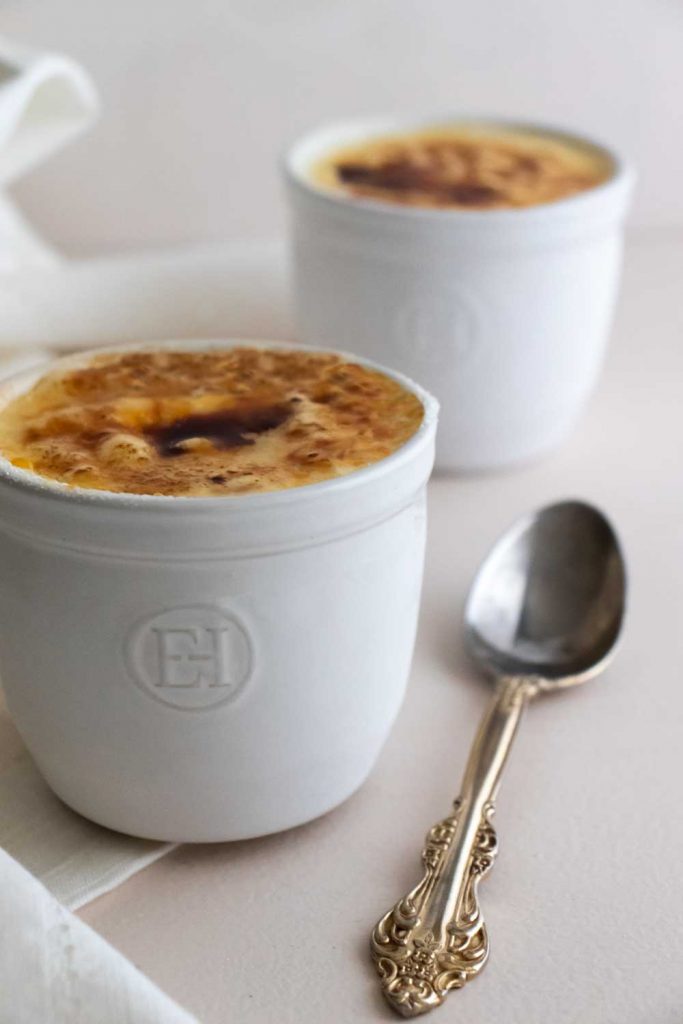
This delicious dessert combines two of my favorite things into one decadent treat. Rich vanilla ice cream is topped with a thin sugar layer and bruleed until crisp and caramelized. It’s delicious by itself but even better when topped with fresh berries!
Frequently Asked Questions
Q: Can I do this with store-bought vanilla ice cream?
A: Of course! This ice cream mimics the vanilla custard found in creme brulee but if you’re looking for a shortcut, absolutely use vanilla ice cream.
Q: If I don’t have a kitchen torch, can I use the broiler?
A: I really do not recommend using the broiler as a substitute for a kitchen torch. In my experience, the boiler creates a very uneven crust and tends to burn some areas while undercooking others. Kitchen torches can be inexpensive and they are extremely useful!
Q: Can I make this without an ice cream maker?
A: I’ve never tried making no-churn ice cream but if you have a favorite recipe, go for it! If you don’t have an ice cream maker, you can always opt for the shortcut method of using a good quality store bought ice cream.
The Recipe
Creme Brulee Ice Cream
Ingredients
- 1 cup whole milk
- 2 cups heavy cream
- 1 egg
- 4 egg yolks
- ¾ cup sugar
- 1 tsp vanilla bean paste
- ¼ tsp salt
- Superfine sugar for bruleeing
Instructions
- In a small saucepan over medium heat, combine the whole milk and heavy cream and heat until it just starts to bubble– don’t bring it to a full boil.
- Meanwhile, combine the egg, egg yolks, sugar, and salt in a large heat-proof bowl. Whisk until the egg yolks become a pale yellow color– about 2 minutes.
- Slowly drizzle the milk into the egg mixture while whisking constantly. Don’t pour all of the hot milk in at once or you’ll scramble the eggs (yuck!).
- Once the milk has been fully incorporated, transfer the mixture back into the pan and cook over medium heat until the sugar has dissolved and the mixture has thickened enough to coat the back of a spoon– about five minutes.
- Remove the pan from the heat and stir in the vanilla bean paste. Strain the mixture through a fine mesh sieve and place it in the refrigerator until fully chilled– at least an hour but up to overnight.
- Freeze the ice cream base according to your ice cream maker’s directions. In my kitchenaid attachment it took about 20 minutes on a slow churn.
- Transfer the mixture to a freezer-safe container and store up to a month.
- When you want to brulee, fill a ramekin up to the top with ice cream making sure that you’ve created a smooth top. If you have time, cover the ramekin with plastic wrap and freeze it for at least an hour. If you skip this step, you may end up with a little bit more melted ice cream that you otherwise would but it will still be delicious.
- Cover the top of the ice cream with a thick layer of superfine sugar (the exact amount will depend on the size of your ramekin, but it should be thick enough that you don’t see any ice cream underneath).
- Brulee the top using a kitchen torch and then let it sit for 30 seconds to harden.
- Serve immediately.


Leave a Reply