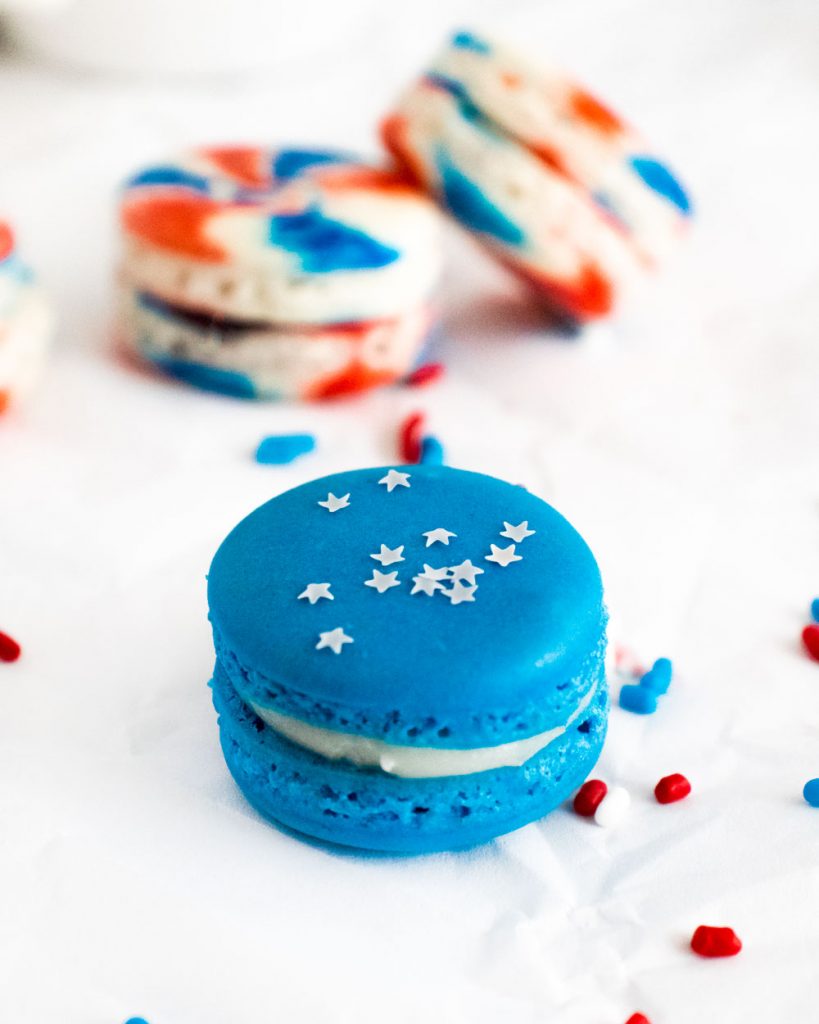
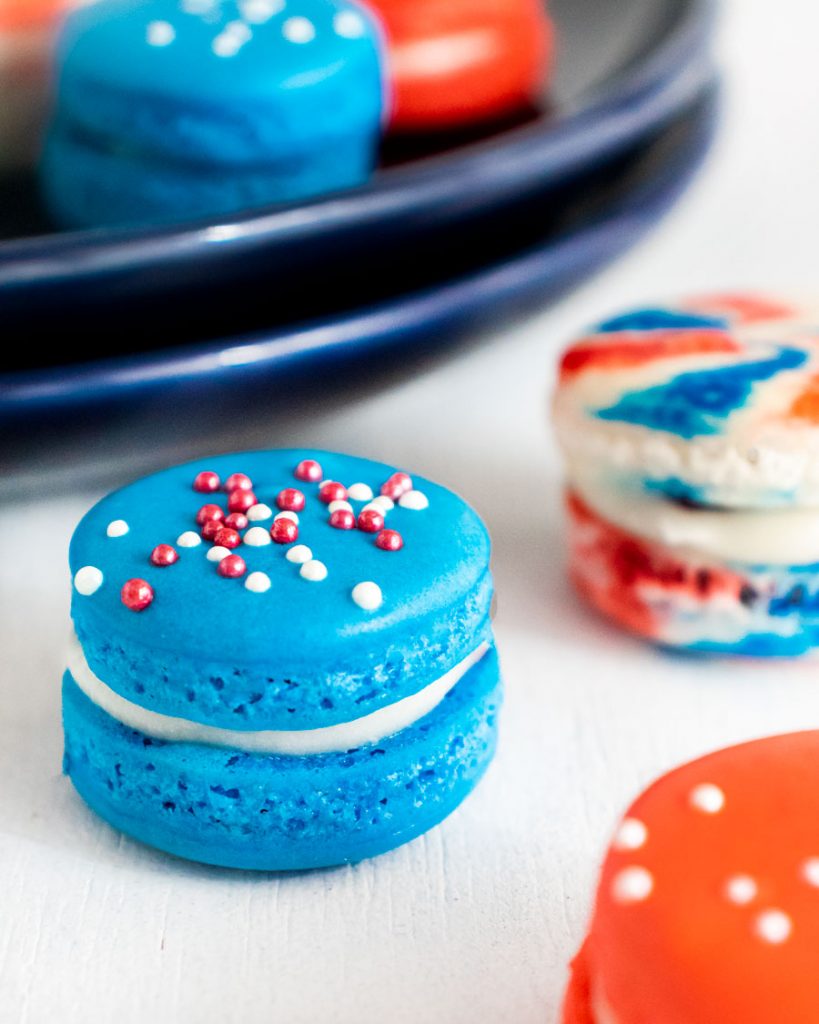
These red, white, and blue macarons are a delicious and impressive dessert you can serve at your next get together! I served these as a Labor Day treat and my guests loved them! They’re fruity, with a slight tang from the cream cheese icing, and the perfect crisp shell to hold it all together.
Frequently Asked Questions
Q: Why is this recipe in grams? Can I make it with cups/ounces?
A: This recipe is in grams because it works with very small ingredient proportions (ex: what would be the equivalent of 1/8 cup of sugar). You’ll have the best chance of success if you use grams.
Q: Macaron vs. Macaroon?
A macaron (pronounced: mac-a-ron) is a french sandwich cookie that’s made from ground almonds. A macaroon (pronounced: mac-a-rOOn) is an italian cookie made from coconut and often dipped in chocolate.
Q: Why do you have to sift the almond flour and powdered sugar?
A: You want to remove any large lumps from the batter to ensure that your macarons have smooth tops and fluffy middles. The lumps will be caught in the sieve or pulsed in the food processor to prevent your macarons from breaking.
Q: Why do you have to add the sugar to the egg white slowly?
A: Adding the sugar to the egg whites all at once will cause them to deflate and they won’t whip into aerated, stiff peaks. This will then cause your macarons to crack when they bake.
Q: Why do you have to deflate the batter after you fold in the dry ingredients?
A: To get the proper consistency to pipe, you have to deflate the egg whites. Deflating also helps the macarons achieve the signature rise (or “feet” as they’re called). If you don’t deflate the egg whites, you’ll end up with flat macarons.
Q: Why do I have to let them sit before they bake?
A: Letting the macarons sit before baking allows time for them to develop a skin. This skin on the top will help the feet to rise upward and prevent the tops from cracking when they rise.
Q: Why are macarons better the next day?
A: Macarons “age” as they sit in the refrigerator overnight. The filling will soften the shells slightly and and their dome will collapse onto the feet getting rid of any hollowness on the inside.
Q: What if I have questions?
A: You can always leave a comment below, however, if you’d like a faster reply, send us a message on Facebook or Instagram (@aboutdinnerthyme)! We’re here to help!
the number one trick to ensure perfect macarons
Can you keep a secret? If I had to pick one trick to ensure that you’ll get perfect macarons every time, it would be to double up your baking sheets– ie: stack two together! This insulates the macarons while they’re baking and prevents them from becoming too hot too quickly. If you don’t use two baking sheets, you’ll likely end up with macarons that have hollow shells and ruffled edges– still delicious, but not as beautiful.
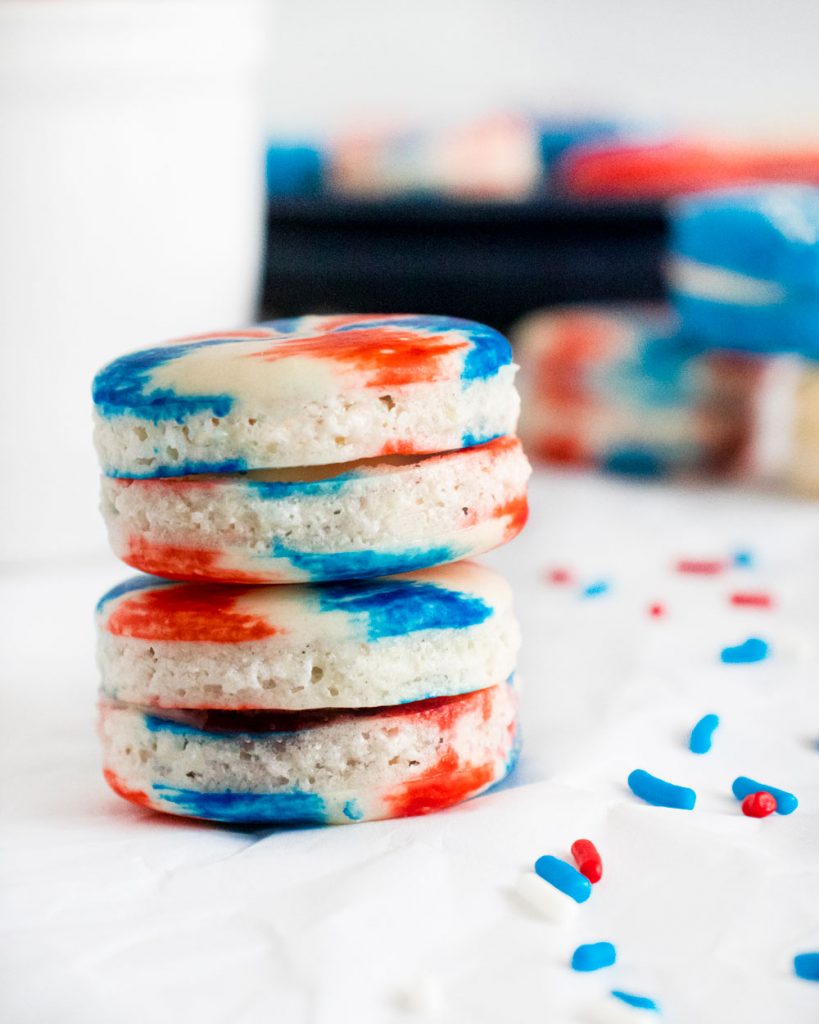
How to make red, white, and blue macarons
Step One: Beat the Egg whites to stiff peaks
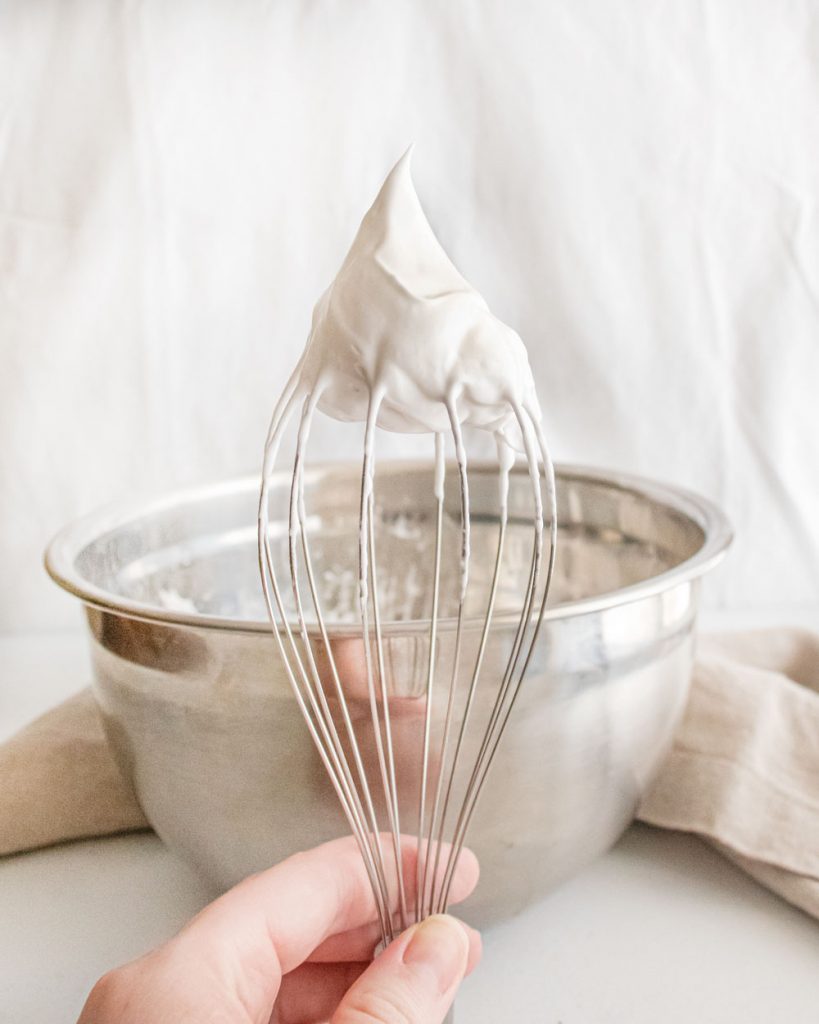
Make sure to start with room temperature egg whites because they’ll be able to hold more air than egg whites that are cold– this is the key to achieving a stiff and fluffy meringue.
Then, beat the egg whites on medium speed just until they hold a small peak. Be careful not to over-beat the egg whites– you want to develop them slowly and stop exactly once they’ve reached peaks.
Step two: Sift together the dry ingredients
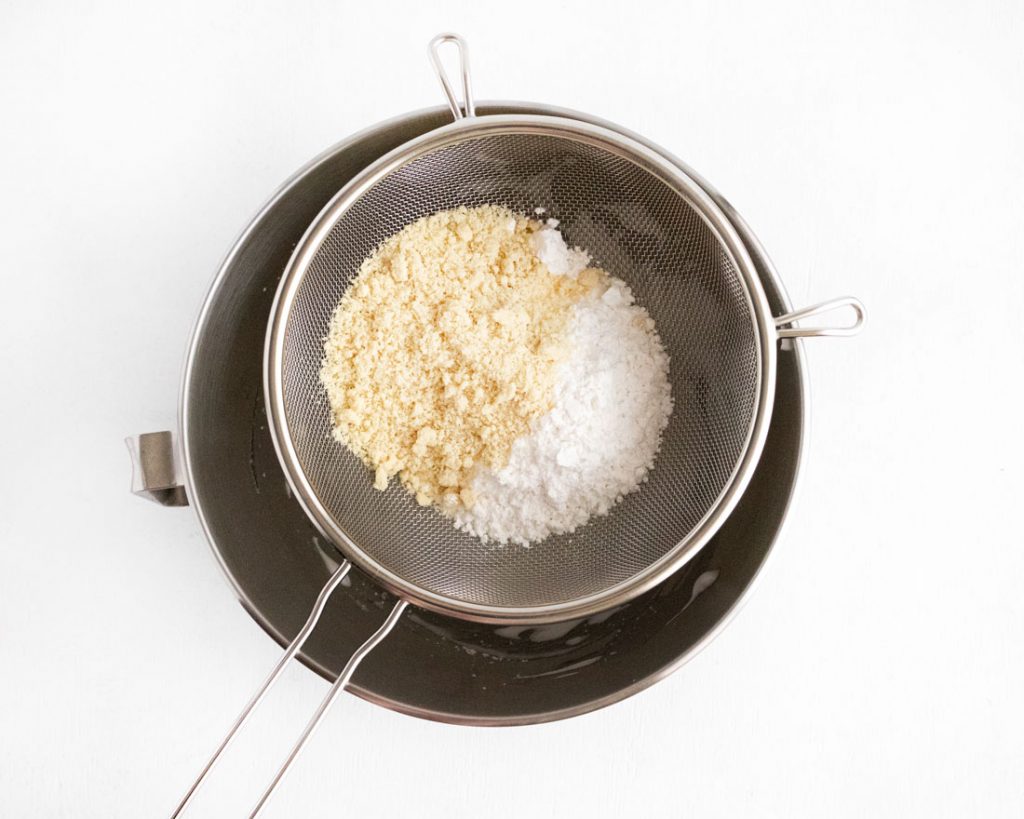
To achieve smooth tops and ruffled feet, you’ll need to sift the almond flour and powdered sugar together. This will ensure that any large pieces are removed and it will help to mix the ingredients together.
step three: combine the egg whites & dry ingredients
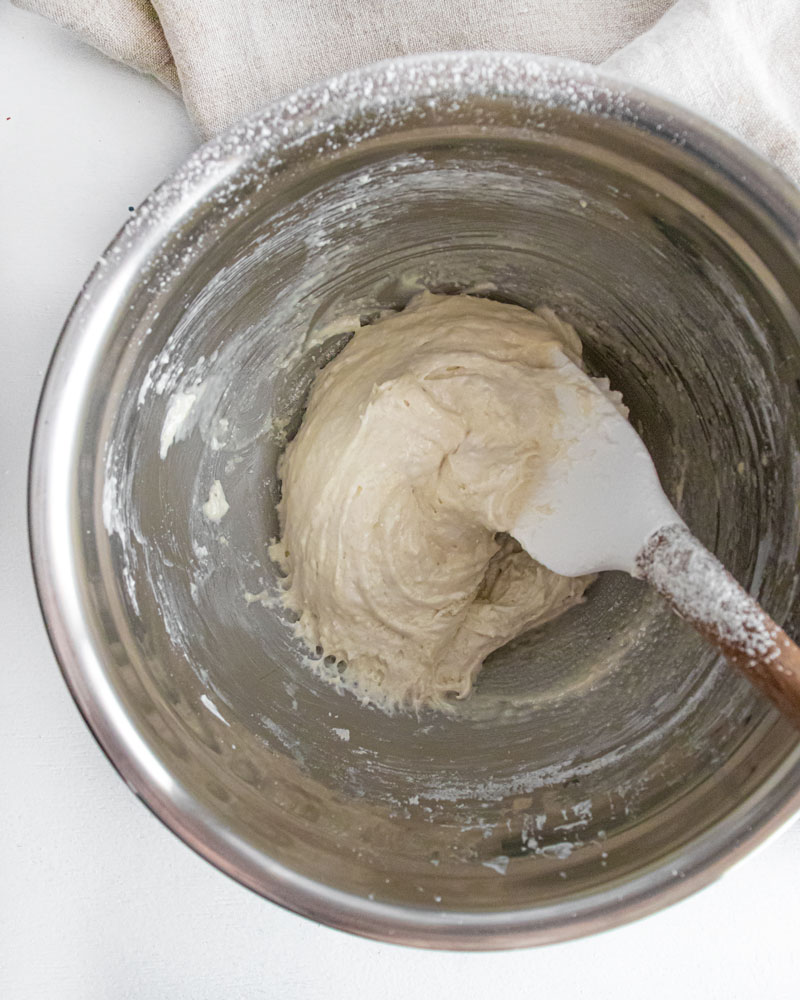
When you start to fold the dry ingredients into the egg whites, be patient. Folding takes time and at this point you want to retain the air in the egg whites as much as possible.
Proper folding technique is to run your spatula down the middle of the batter and scoop underneath one side and then fold it back on top of the other side. Turn the bowl 90 degrees and repeat.
step four: deflate the meringue
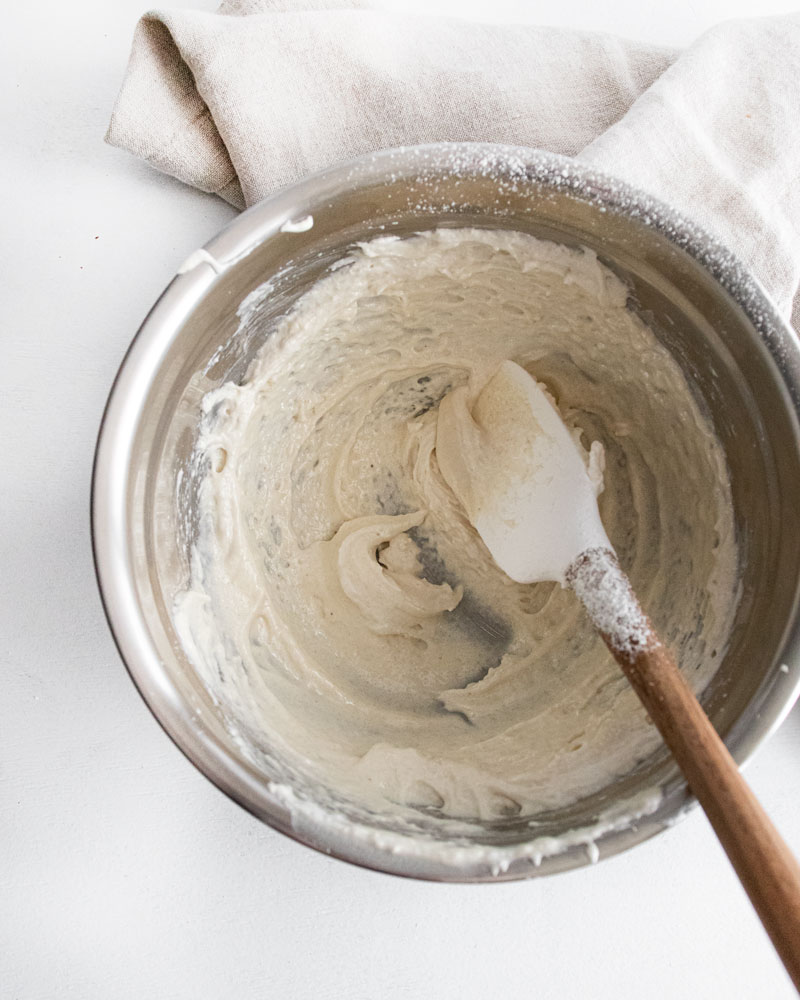
I know it sounds counterintuitive, but trust me… smush the batter against the side of the bowl 2-3 times, then fold it back together. Repeat the process of smushing and folding until your batter reaches the “lava stage”.
What is “The Lava Stage”?
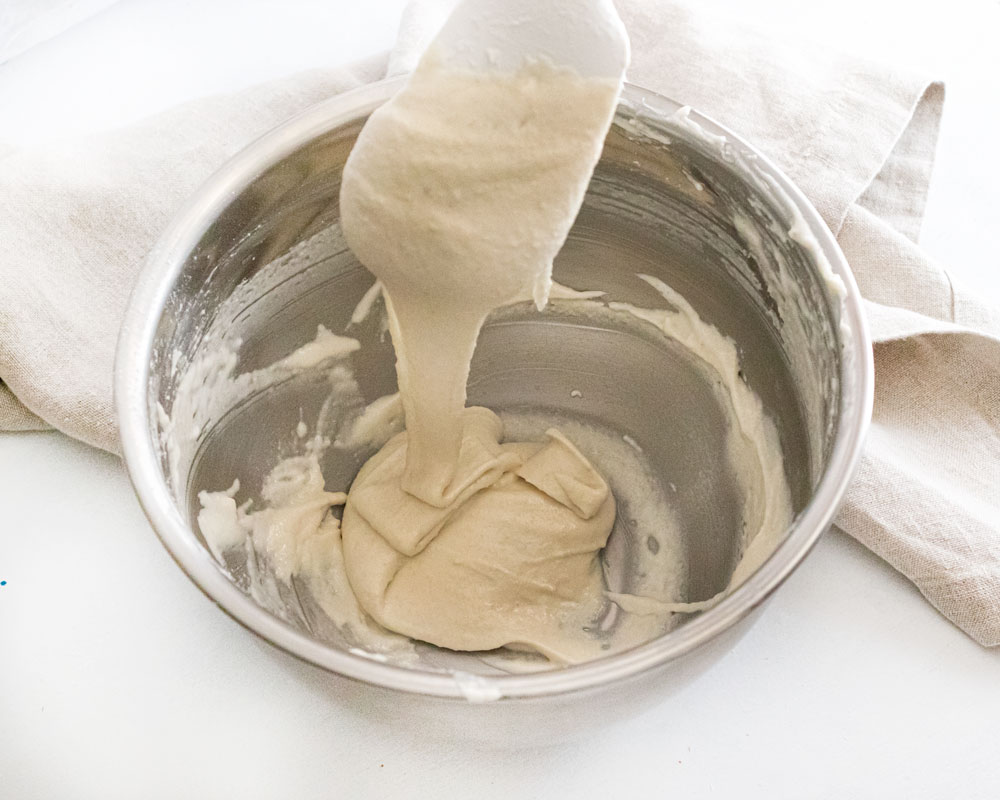
When your macaron batter is ready, you should be able to draw an 8 while the batter flows off the spatula smoothly. If the batter comes off in clumps, smush it a few more times and retry the figure 8. Next, transfer the batter to a piping bag fitted with a medium-sized circle tip. I like a Wilton #12.
step five: Pipe the macarons & release air bubbles
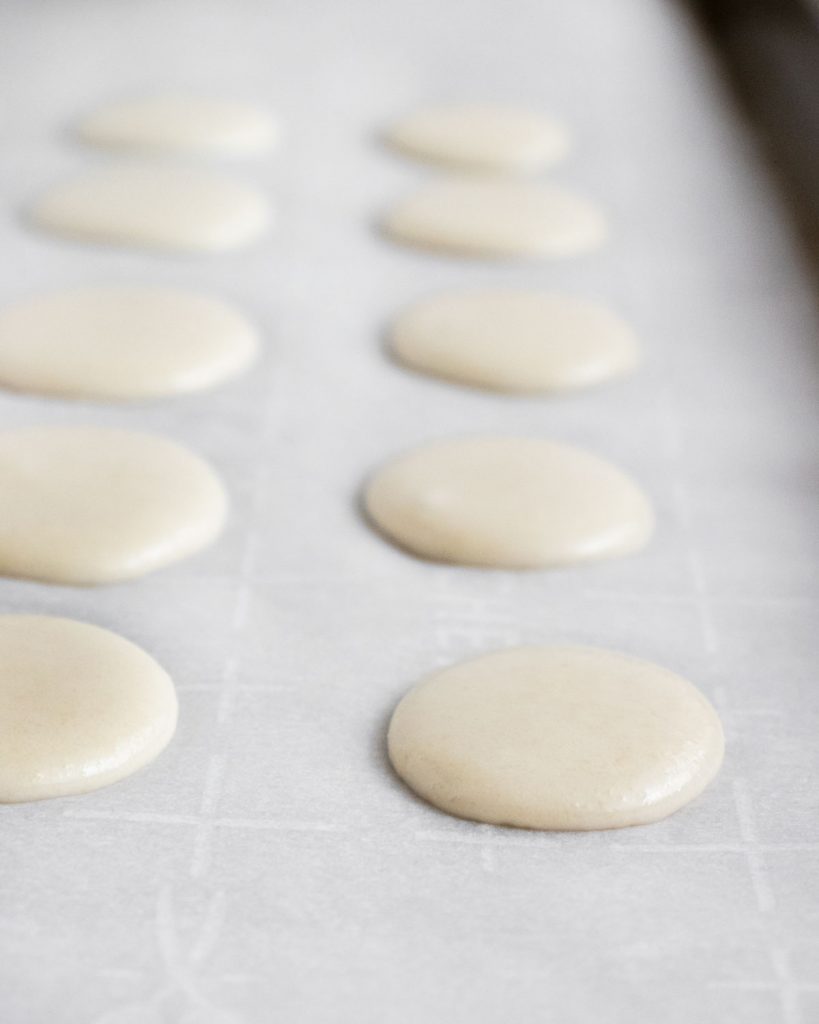
When you line your baking sheets with parchment, make sure the parchment paper is lying completely flat so that the macarons keep their round shape.
It is very important to release the air bubbles from the macaron shells before they form a skin. Immediately after you’ve piped the tray, drop it on the counter a few times. Try to drop it as level as possible so the macarons stay a circle.
A word to the wise~
Don’t try to pipe a circle, it will inevitably turn out… not a circle. Instead, hold the piping bag straight up and down and pipe a small circle and then flick your wrist as if to draw a comma on the top of the macaron with the piping tip. Then, when you release the air bubbles, the macarons will spread and flatten into perfectly shaped circles.
step six: Rest & Bake
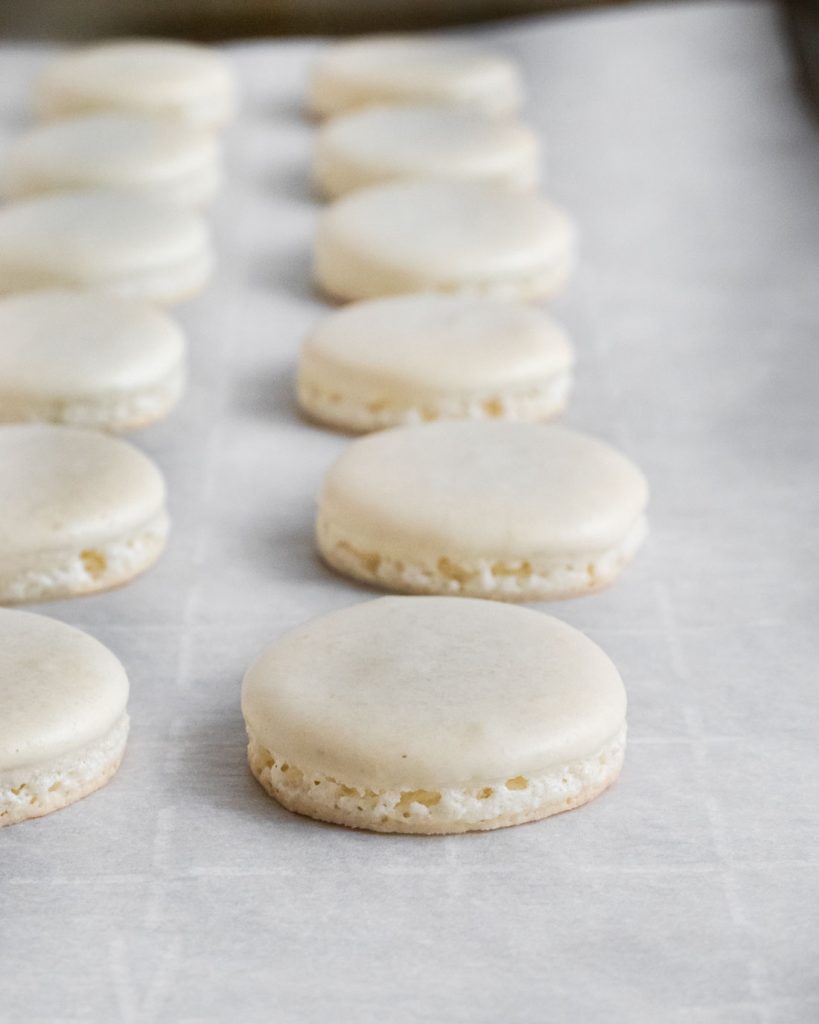
Macarons must sit at room temperature before they are baked so they can dry slightly. You’ll know the macarons are ready to bake when they form a “skin” and are no longer sticky to the touch. This usually takes around 20-30 minutes but can take up to two hours if it’s raining or very humid outside.
I bake my macarons at a lower temperature than other bakers– I find that it helps prevent hollows and allows for perfectly risen feet. So, bake the macarons at 300 degrees for 18-20 minutes or until the macarons are no longer wet in the center.
If your oven cooks unevenly, you’ll need to turn the pan 180 degrees after 9 minutes of baking. This will ensure that both sides of the macaron cook evenly and one side doesn’t become taller than the other. Let the macarons cool fully before removing from the pan.
step seven: Fill and age the macarons
To fill the macarons, pipe small circles of icing onto the center of one shell, fill the circle with strawberry filling, and place another shell on top. Lastly, place the macarons in the fridge to age overnight. The liquid in the cream cheese icing will soften the cookie slightly and create a perfectly crisp and soft macaron. If you eat a macaron on day one, they’re usually crisp and tend to fall apart. But, the fact that macarons have to age makes them the perfect make-ahead dinner party dessert, right?!
The recipe
Red, White, and Blue Macarons (with Berry Cheesecake Filling)
Ingredients
For the Macarons
- 30 grams egg whites
- 25 grams granulated sugar
- 70 grams powdered sugar
- 40 grams almond flour
For the Cheesecake Icing
- 40 grams cream cheese softened
- 40 grams powdered sugar
- 1 gram vanilla extract
- 50 grams your favorite berry jam
Instructions
Make the Macarons
- Line a sheet pan with parchment paper. Make sure the paper lays flat or your macarons won’t be perfect circles.
- Sift together the powdered sugar and almond flour. Discard any large lumps that remain in the sifter. If you don’t have a sifter, you can pulse them in the food processor for 10-15 seconds.
- In the bowl of a stand mixer, beat the egg white on medium-low speed until it becomes foamy and white. Add the cream of tartar.
- With the mixer on medium-high, slowly add in the granulated sugar. I like to add about one tablespoon every 5 seconds. Whip the egg white on medium-high speed until it forms stiff peaks.
- Add half of the dry mixture to the egg white and fold it gently until the dry mixture is incorporated. Add the remaining half of the dry mixture and continue to gently fold until the batter is uniform and no more lumps remain. This should take about 15-20 folds per addition.
- At this point, add up to 1/2 tsp of gel (not liquid) food coloring to the macaron batter. Don't combine it yet– it will get mixed in when you start deflating the egg whites.
- This part is counterintuitive, but trust me… you have to deflate the egg whites until you get the batter to the “lava stage”. Smush the batter along the sides of the bowl in a circular motion and then scrape the sides of the bowl and fold the batter back together.
- Once the batter reaches the “lava stage” you should be able to draw an 8 with the batter and it should reincorporate within 10-15 seconds. If the batter doesn’t reincorporate, give it a few more folds and try the figure 8 again.
- Transfer the meringue to a piping bag fitted with a round tip (I like Wilton #12). If you don’t have a piping bag, you can also use a large ziploc bag with the end cut off.
- Pipe 1” circles on the parchment lined baking sheet. Make sure to pipe them at least 2 inches apart.
- Immediately after piping, hold the tray approximately 6 inches off the counter and drop it straight down onto the counter. Repeat 10 times.
- Preheat the oven to 300°F.
- Let the macarons sit at room temperature for at least 20 minutes, or until they develop a skin. After 20 minutes, you should be able to touch the macarons without them sticking your finger. If they are still sticky, let them sit another 20 minutes.
- Bake the macarons on the middle shelf for 15-18 minutes. The macarons should be set all the way through but not browned on top. If your oven doesn't cook evenly, make sure to turn the pan 180° half way through baking.
- Remove the macarons from the oven and let them cool on the tray.
Make the Cheesecake Icing
- Combine all of the ingredients in a small bowl. Whisk until no lumps remain. Transfer to a piping bag.
Assembly
- Once the macarons have cooled, place them in similar sized pairs. On one side, pipe a small circle of icing around the outer edge. Next, place the berry filling in the center of the icing circle. Place the top shell on and refrigerate in an air-tight container overnight to age.
- Bring to room temperature before serving.
Notes
Nutrition

Leave a Reply